


My Solar Imaging Gear Explained
As I continue exploring the world of solar imaging, I want to share a closer look at the equipment behind my first-light results. What I love about this setup is that it is compact, affordable, beginner-friendly, and still capable of producing high-quality scientific detail. Here’s an overview of each component and how they work together.
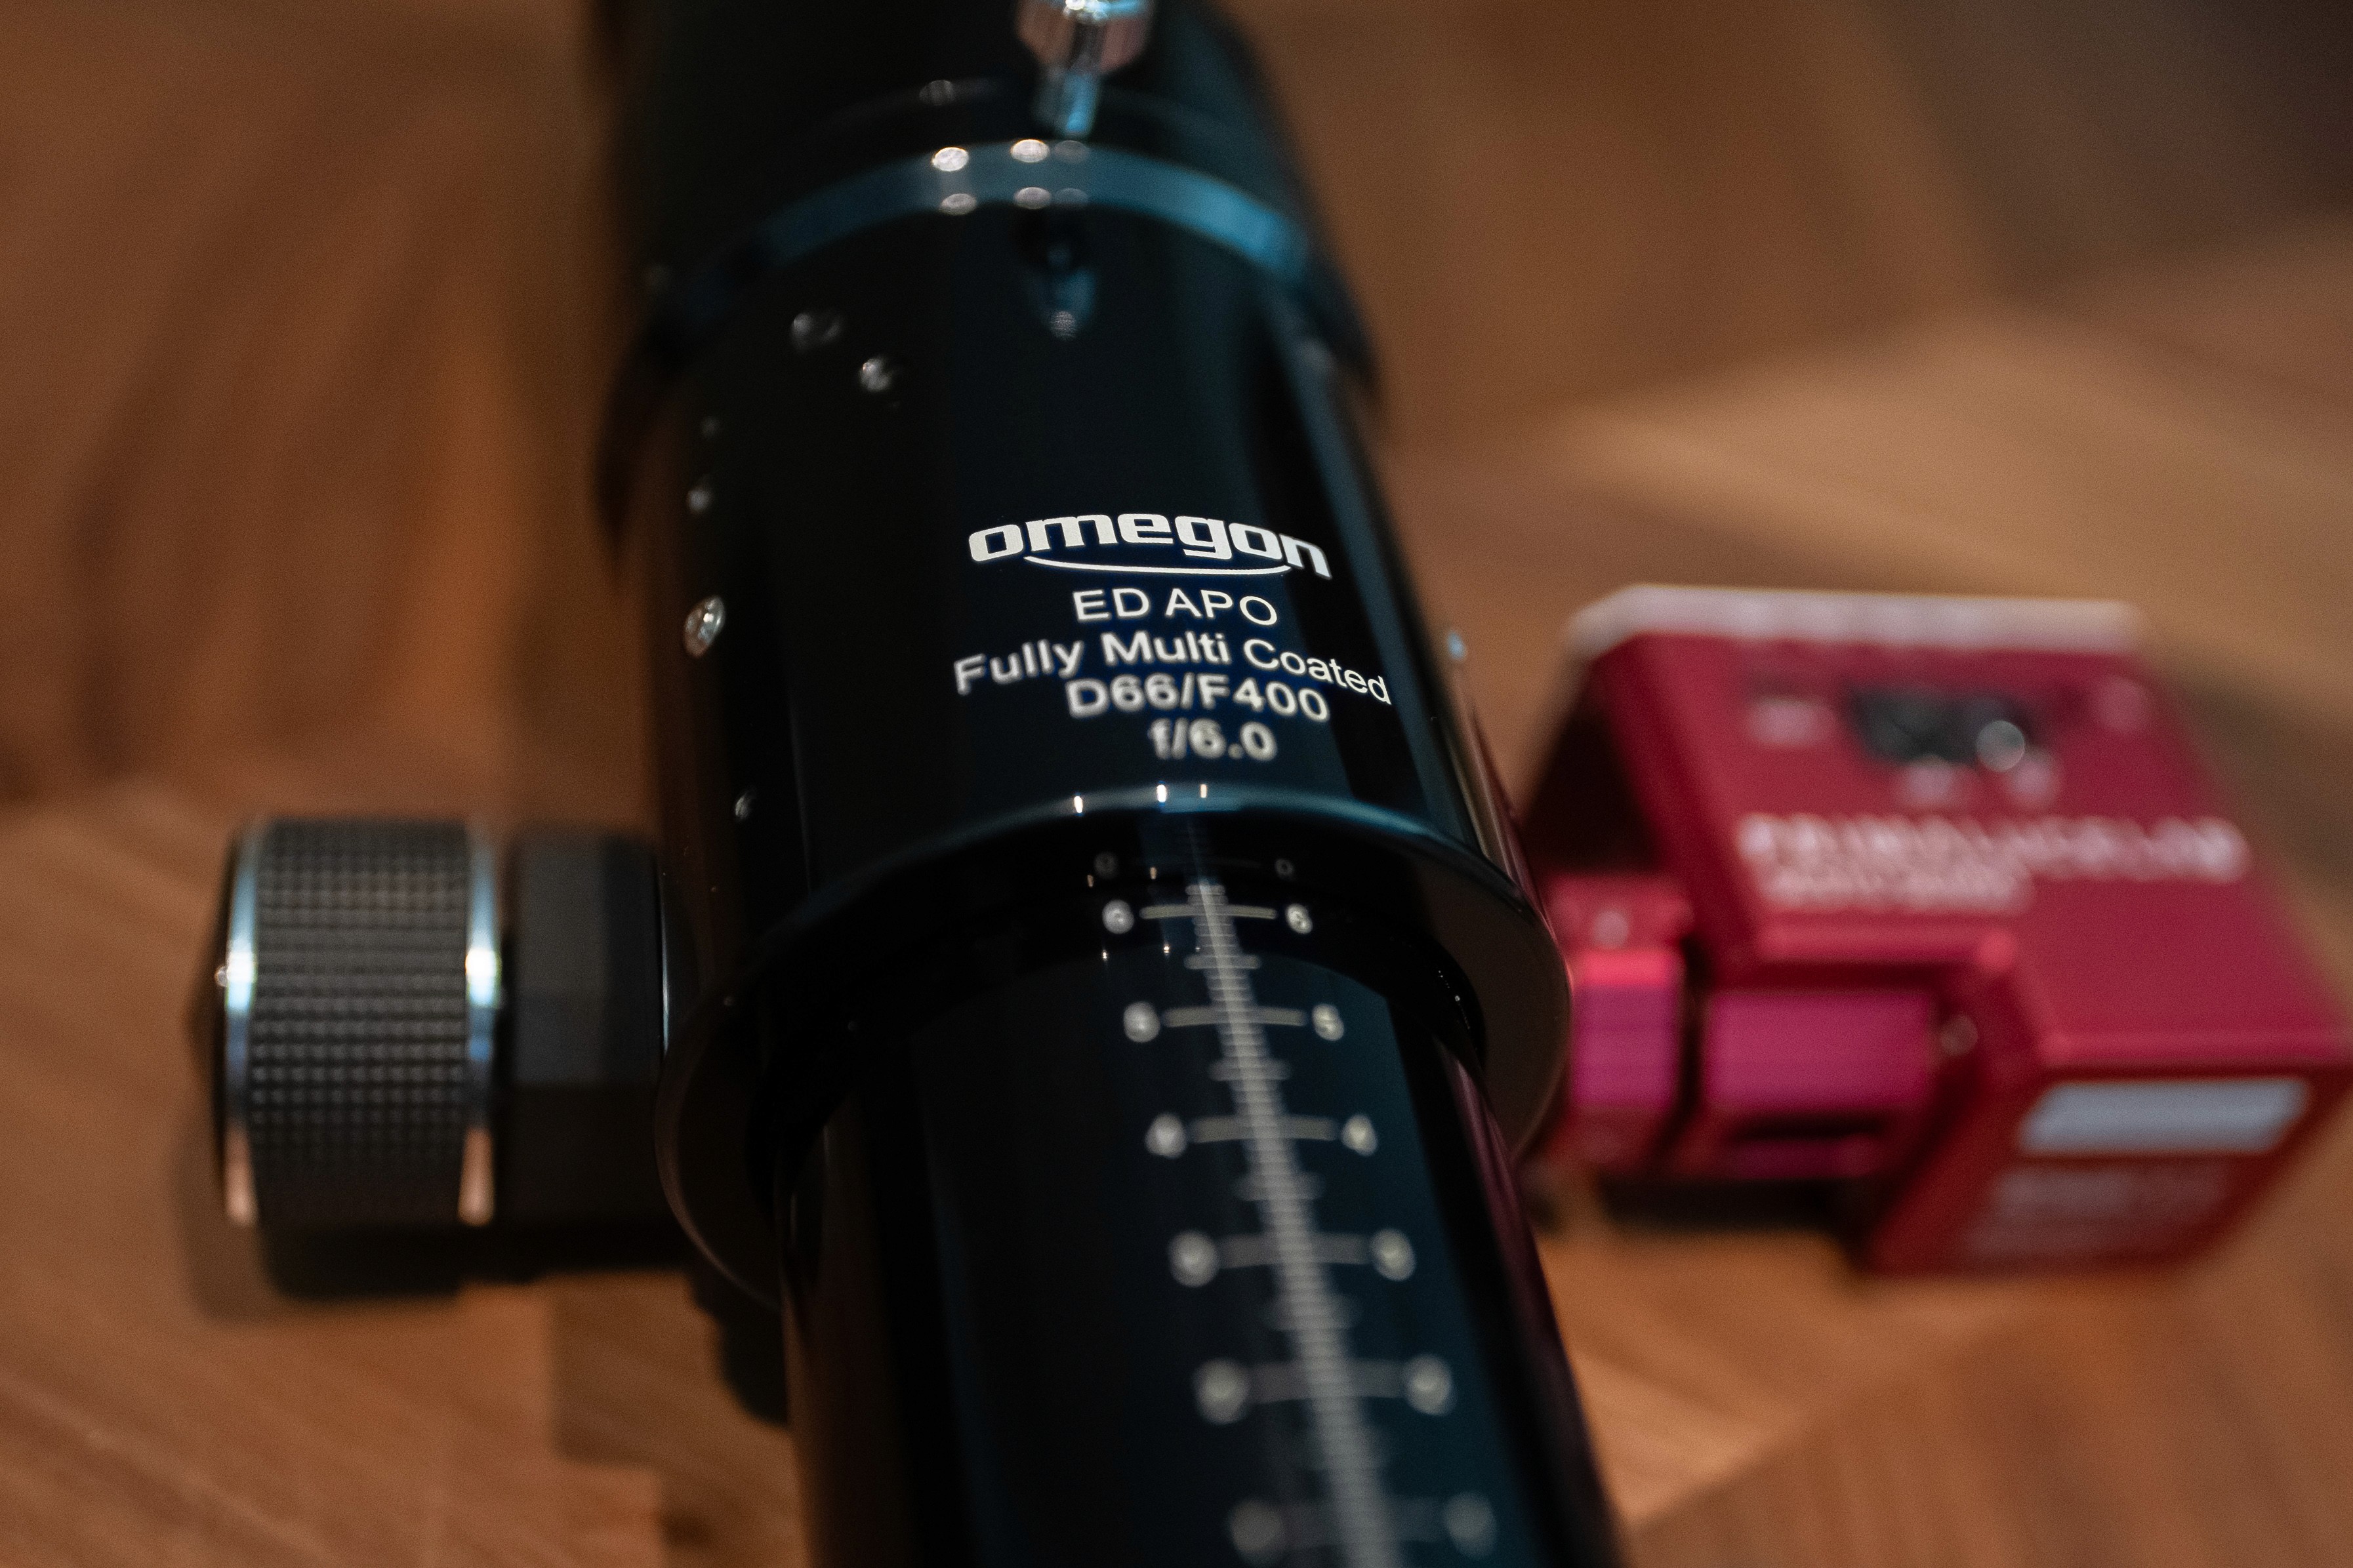
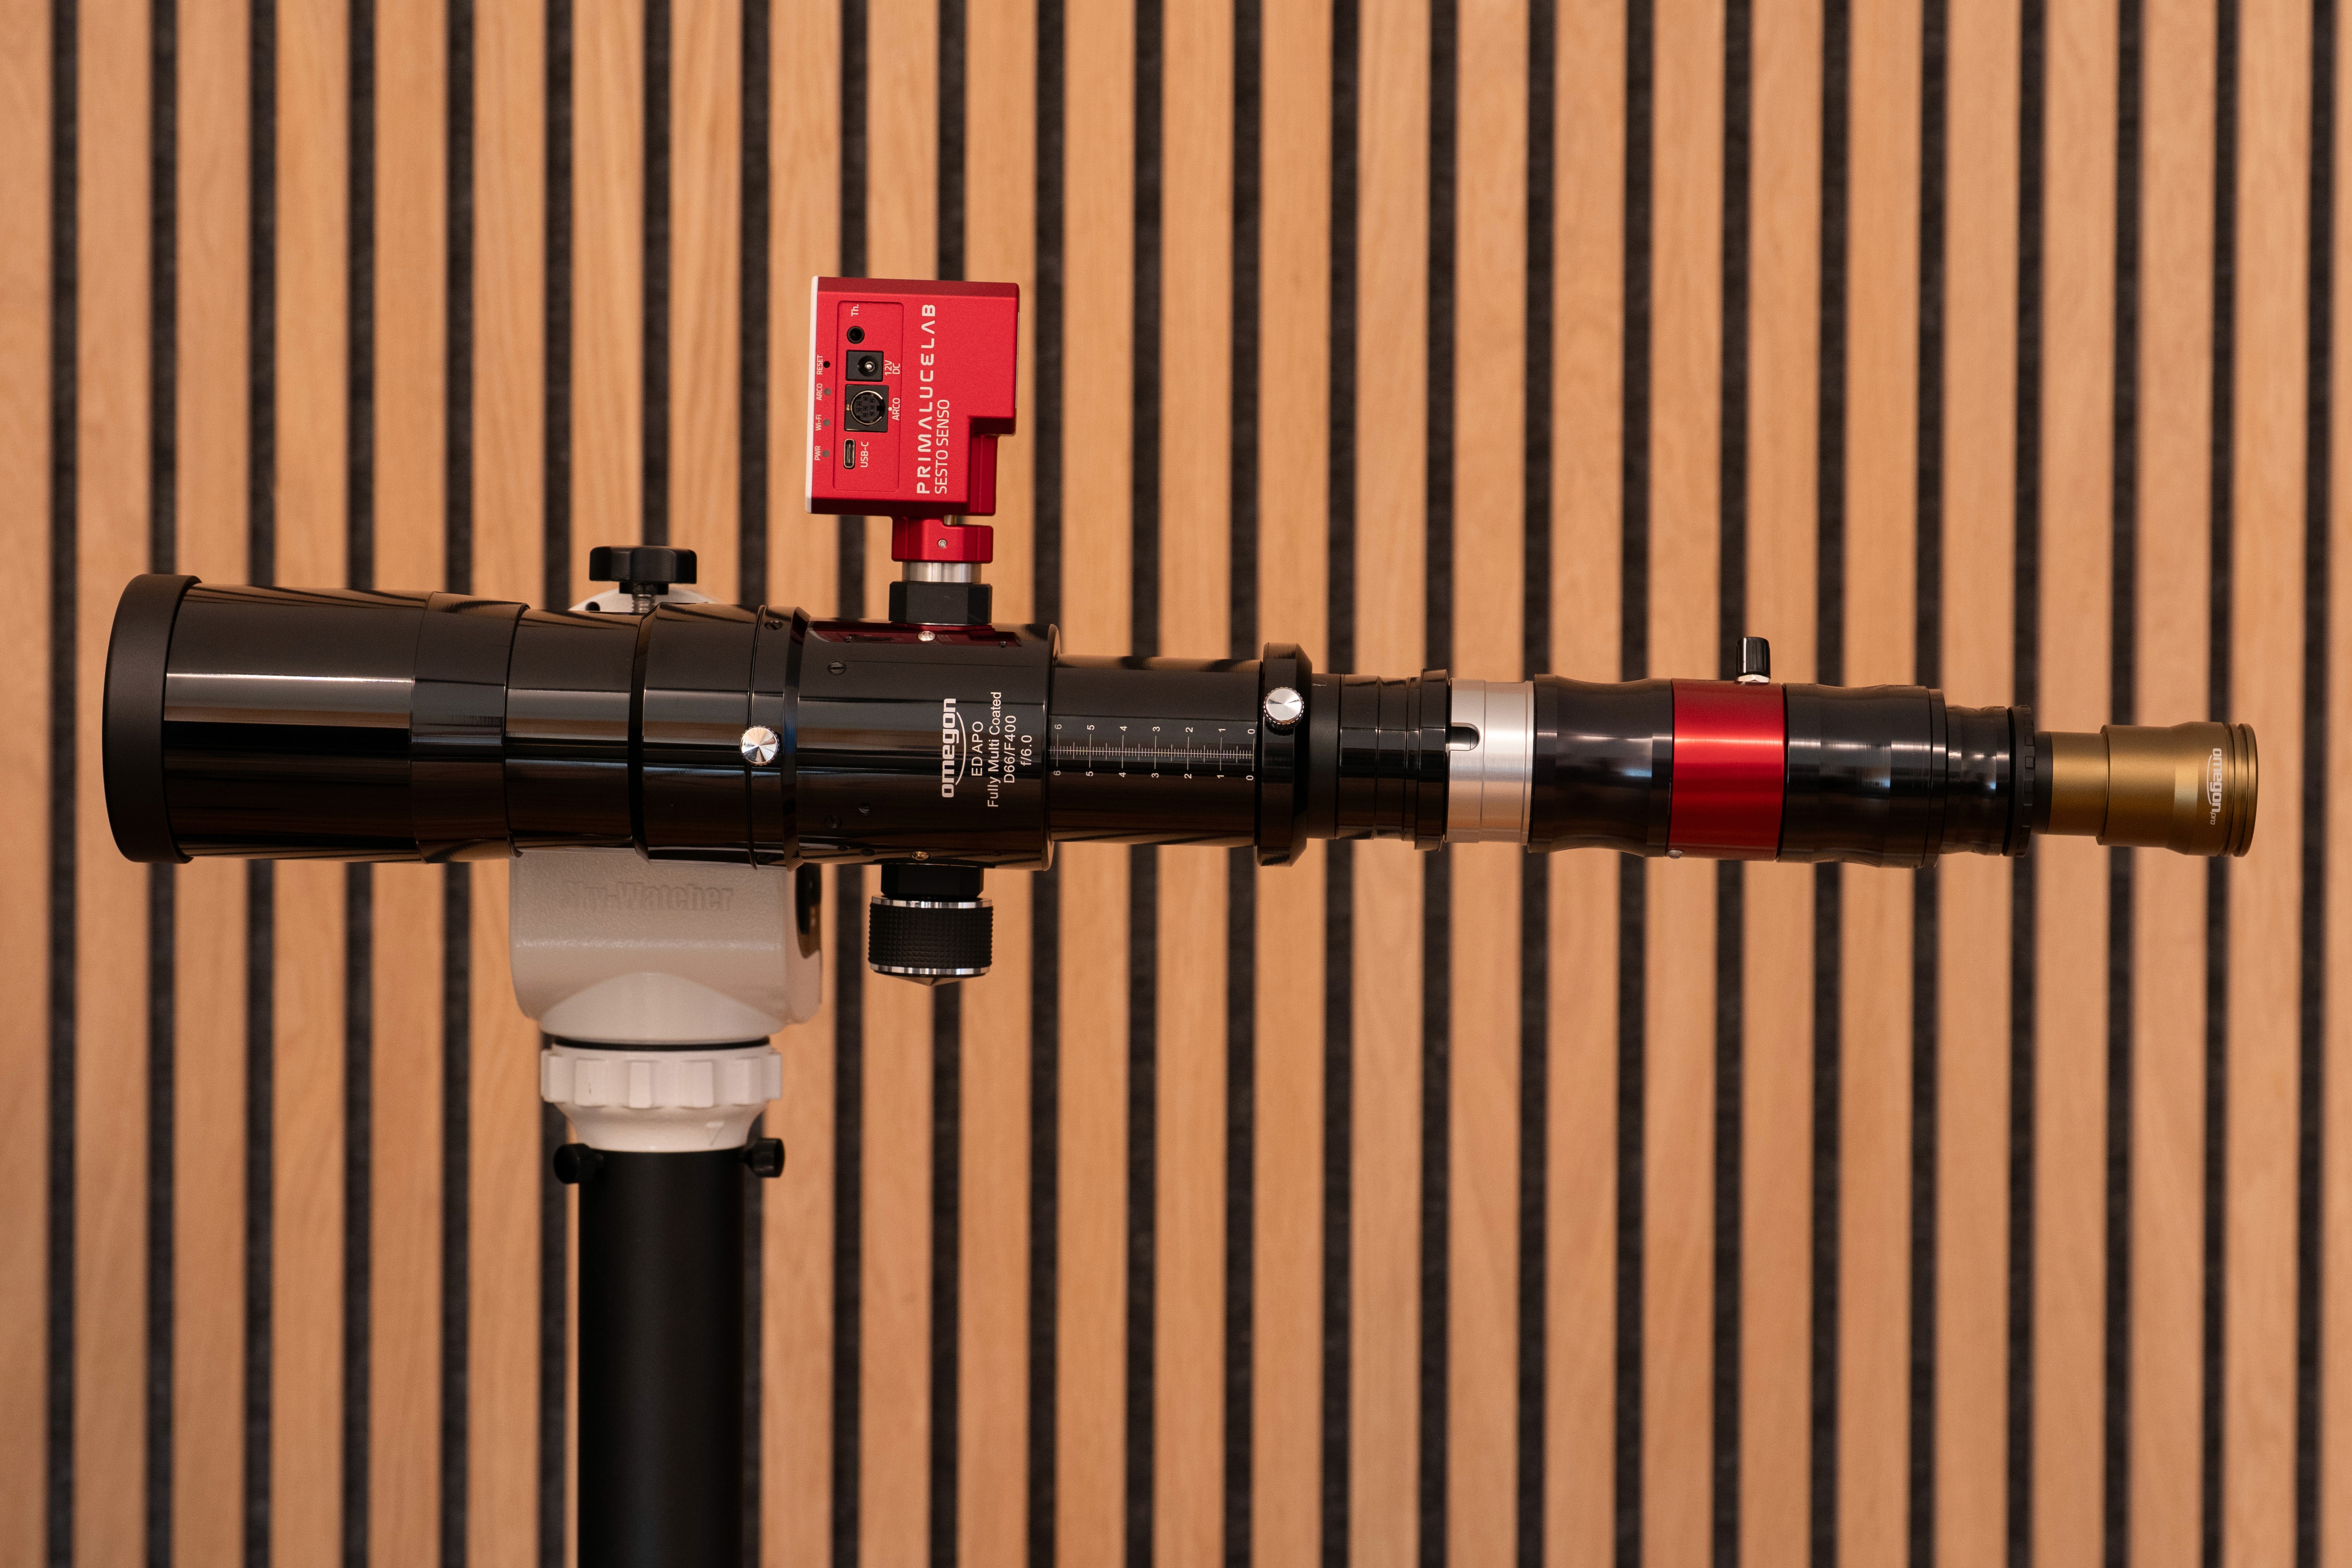
Omegon Pro APO 66/400 ED Refractor
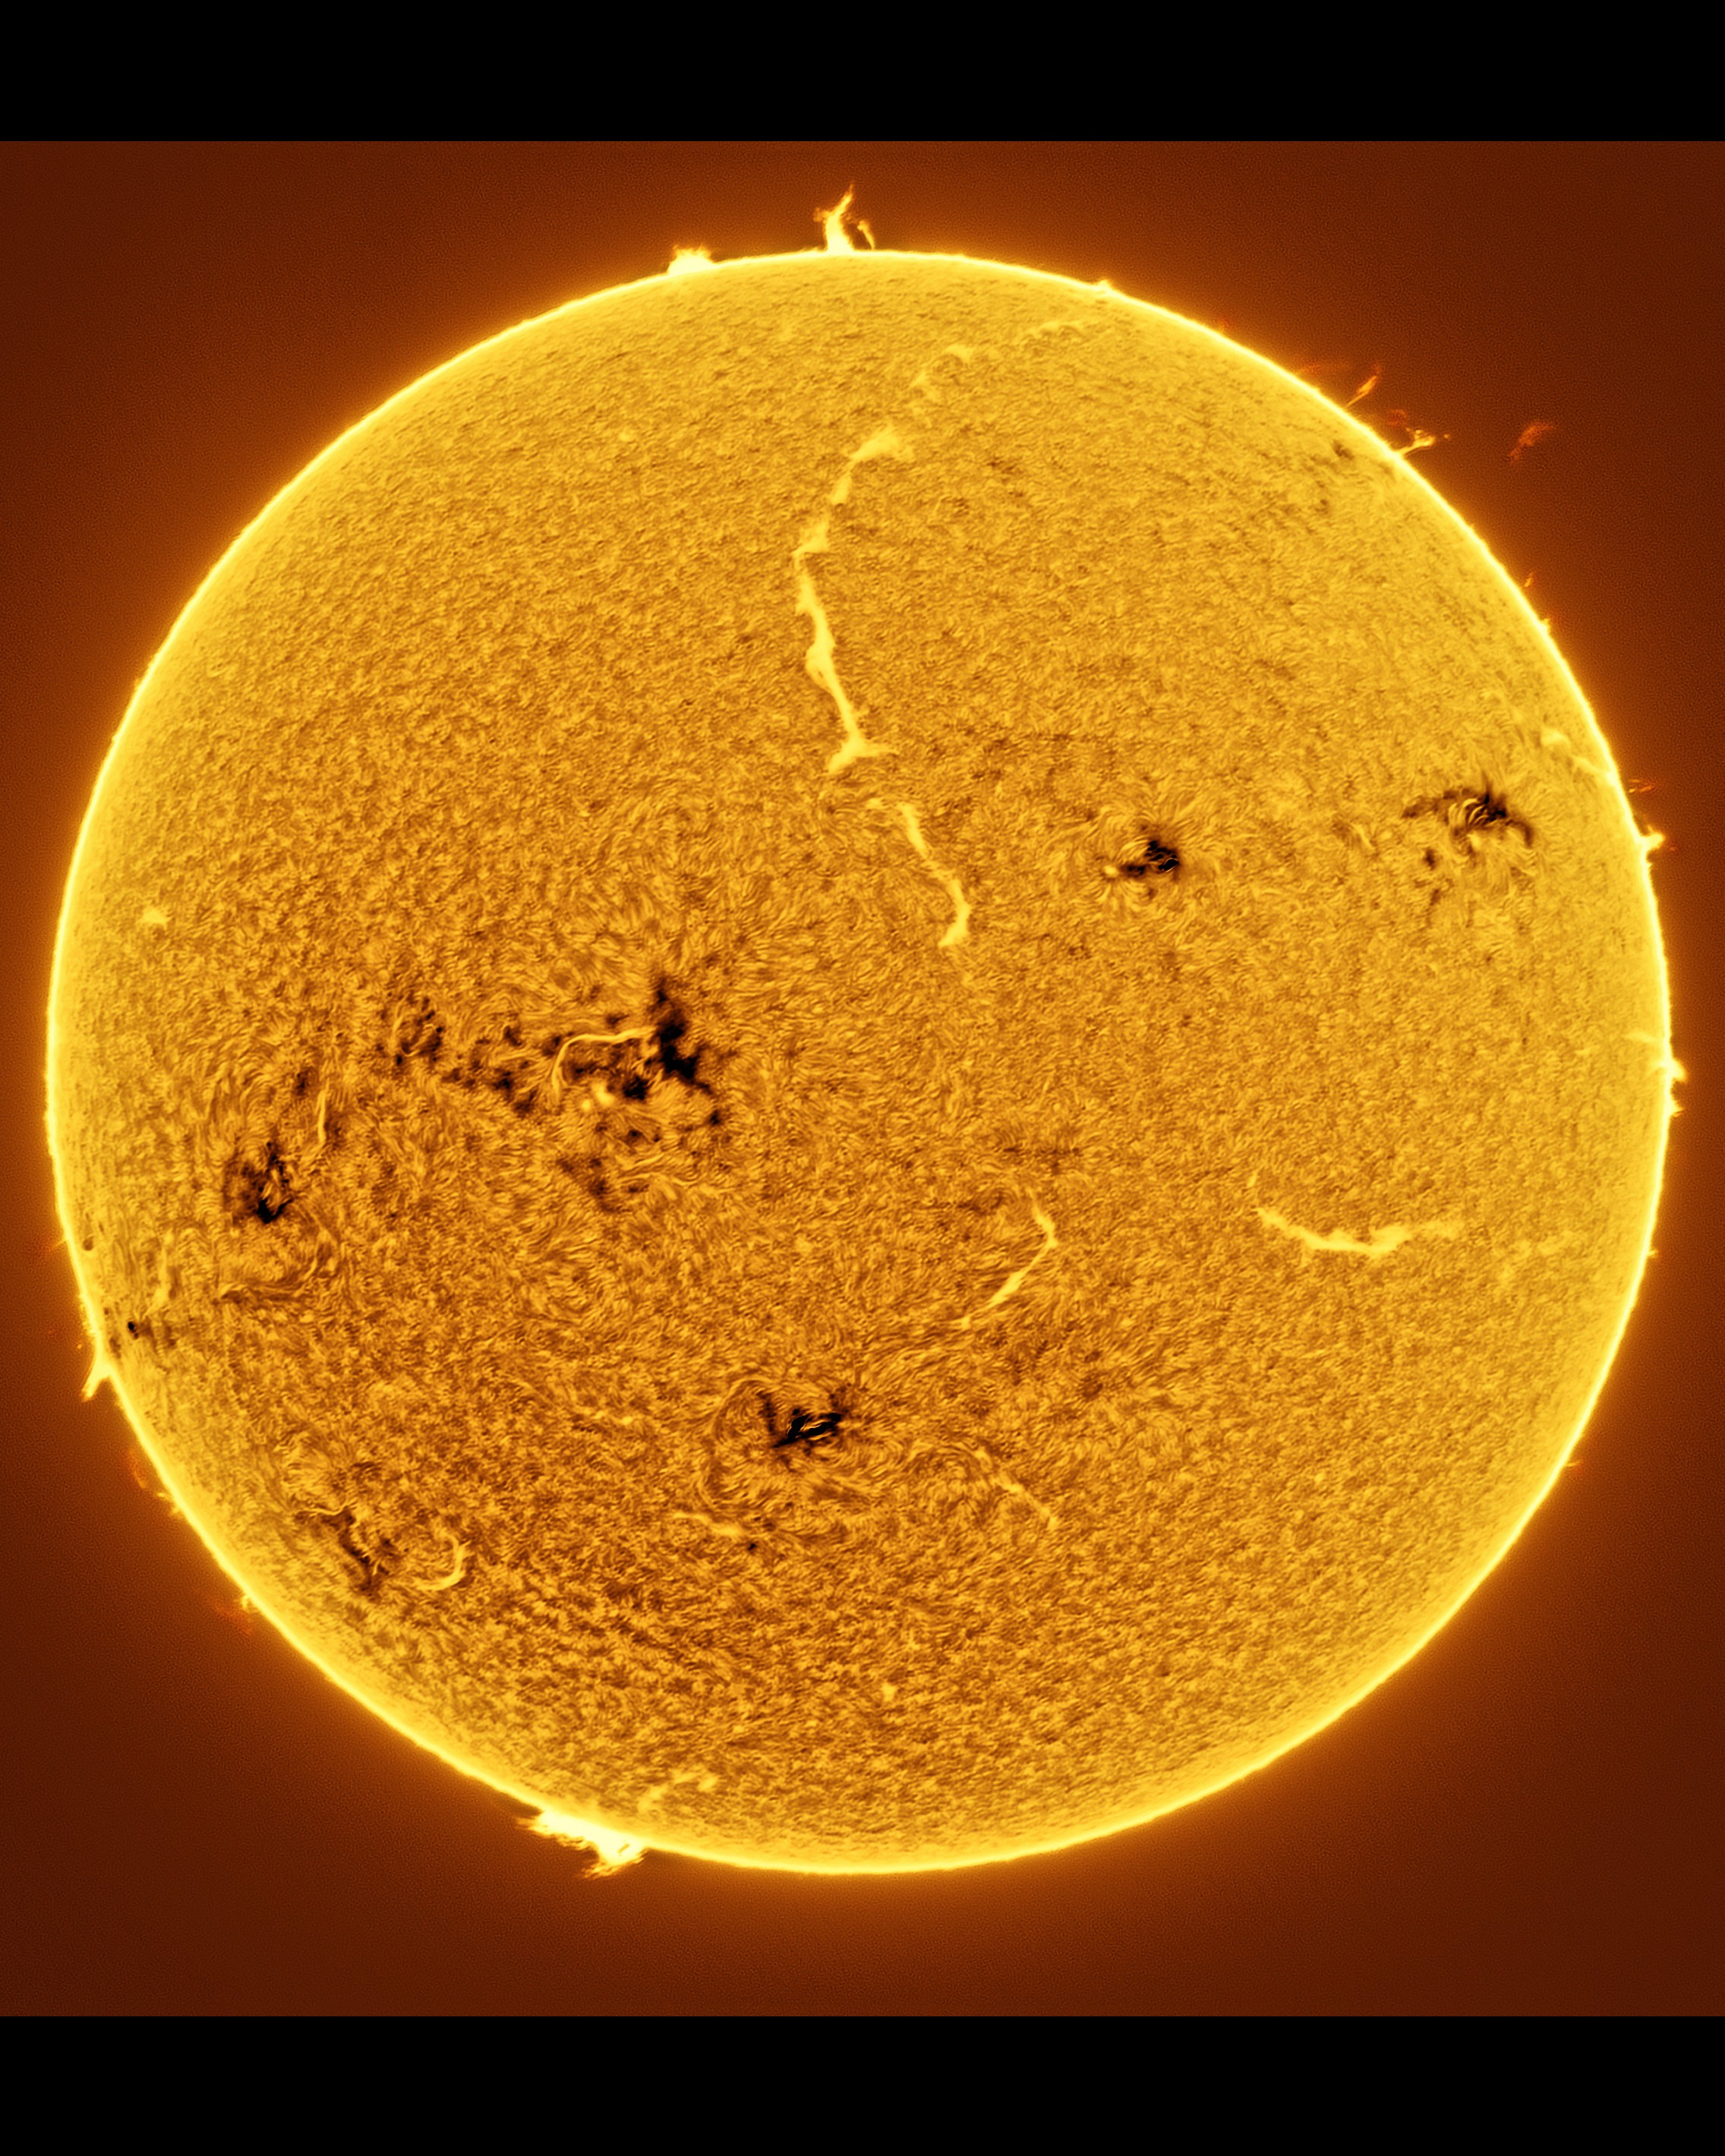
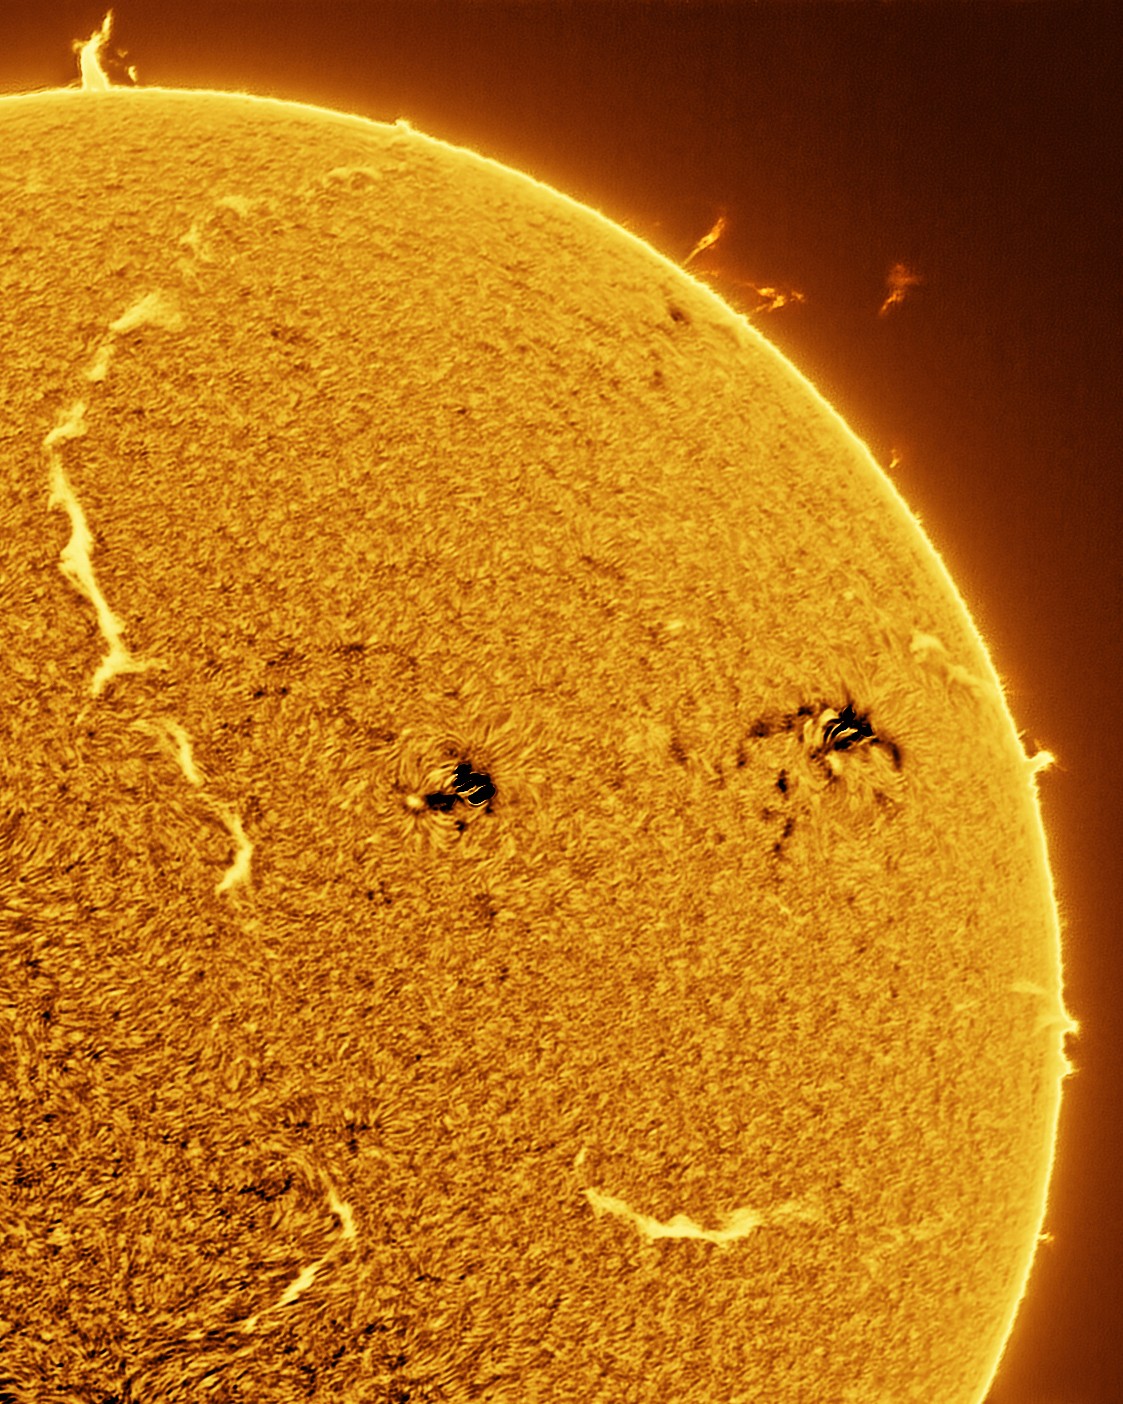
The Omegon Pro APO 66/400 ED is the heart of my portable solar rig. Its extra-low dispersion optics significantly reduce chromatic aberration, producing crisp, high-contrast images—especially important when imaging the Solar prominences.
Why I chose it:
Lightweight and extremely portable
Sharp apochromatic optics
Excellent for both full-disc imaging and prominences
Budget-friendly entry point for serious solar work
Omegon veLOX 678M Mono Camera
This high-sensitivity monochrome camera pairs perfectly with the refractor and the DayStar Quark. Its modern Sony sensor delivers clean data with low noise, allowing extremely detailed images of prominences, filaments, and active regions.
Advantages:
Fast frame rates for capturing fine solar detail
Mono sensor ensures maximum sharpness for narrowband imaging
Great performance even in difficult seeing conditions

Skywatcher SolarQuest AZ Mount
The SolarQuest is one of the most beginner-friendly tracking systems on the market. Using its GPS-guided HelioFind system, it automatically locates and tracks the Sun—no polar alignment or setup headaches required.
What makes it ideal:
Automatic solar detection and tracking
Perfect for quick sessions or travel
Ultra-portable and easy to operate
Reliable tracking for both visual and photographic use
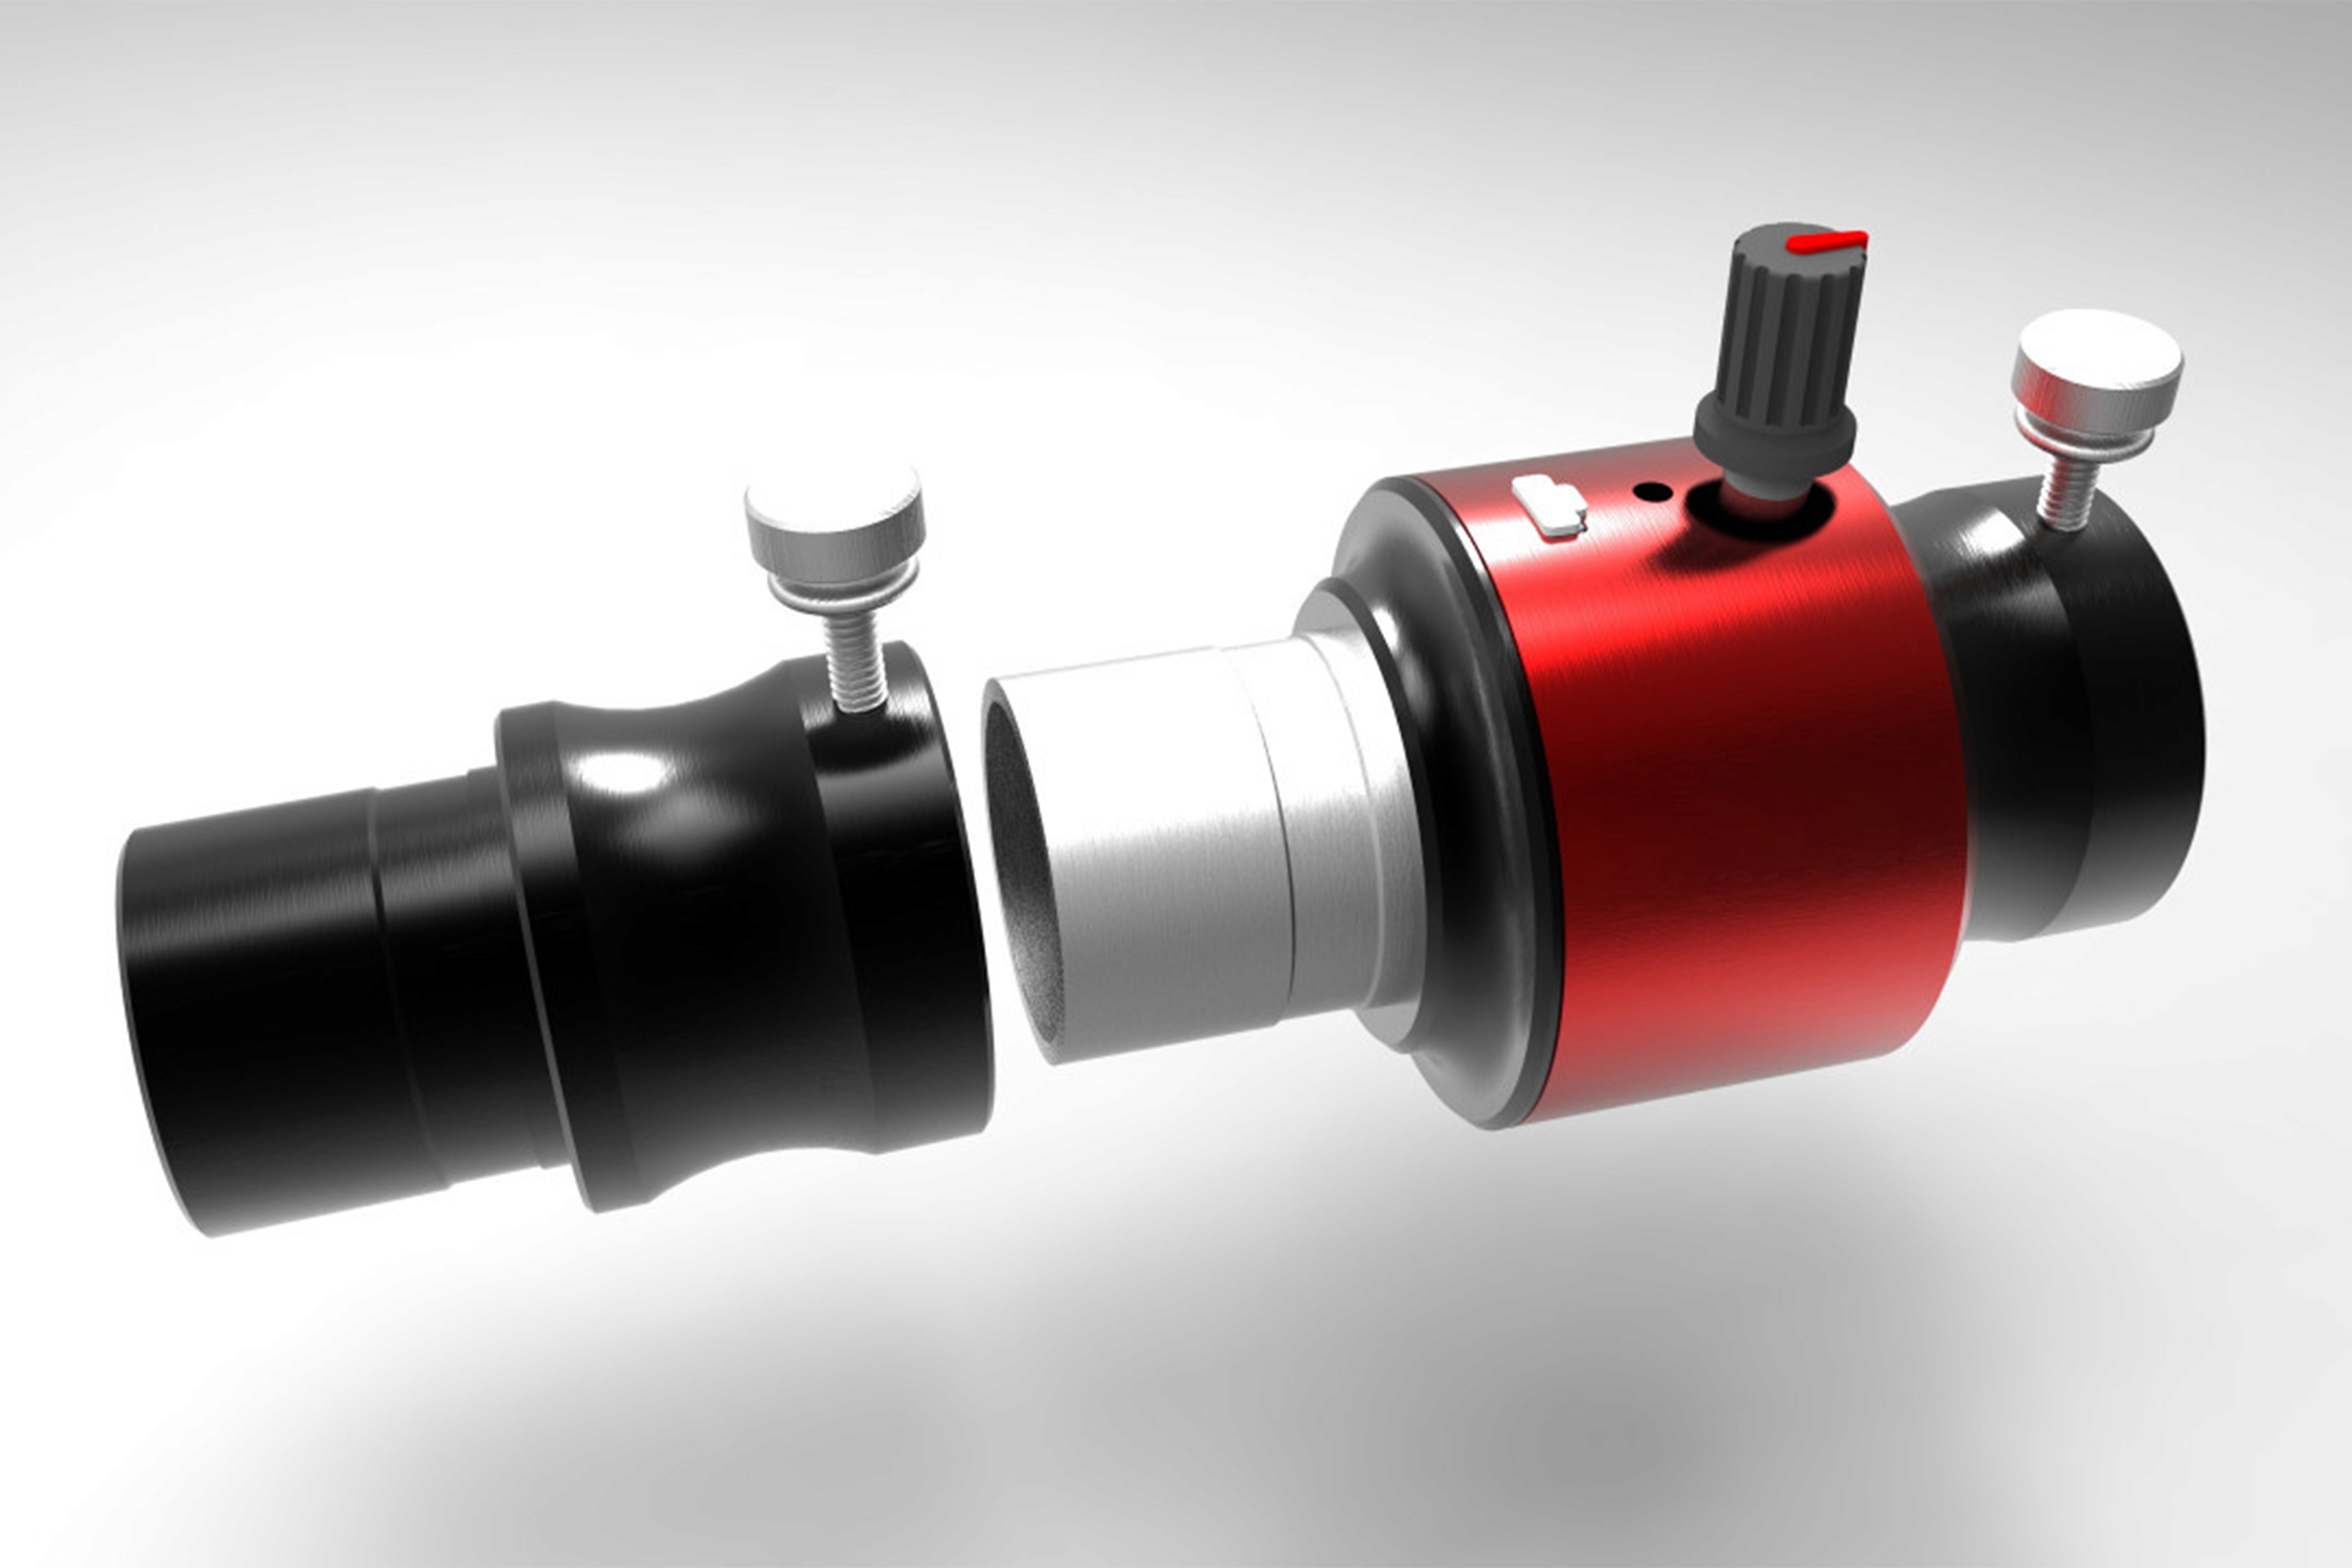
The DayStar Quark Chromosphere transforms this compact refractor into a powerful H-alpha solar telescope. It isolates the narrowband H-alpha wavelength, revealing the dynamic and ever-changing surface of the Sun.
Why it’s a game-changer:
Incredible detail of prominences, filaments, spicules, flares, and active regions
Plug-and-play design—just insert it into the optical train
Works perfectly with small refractors like the 66/400
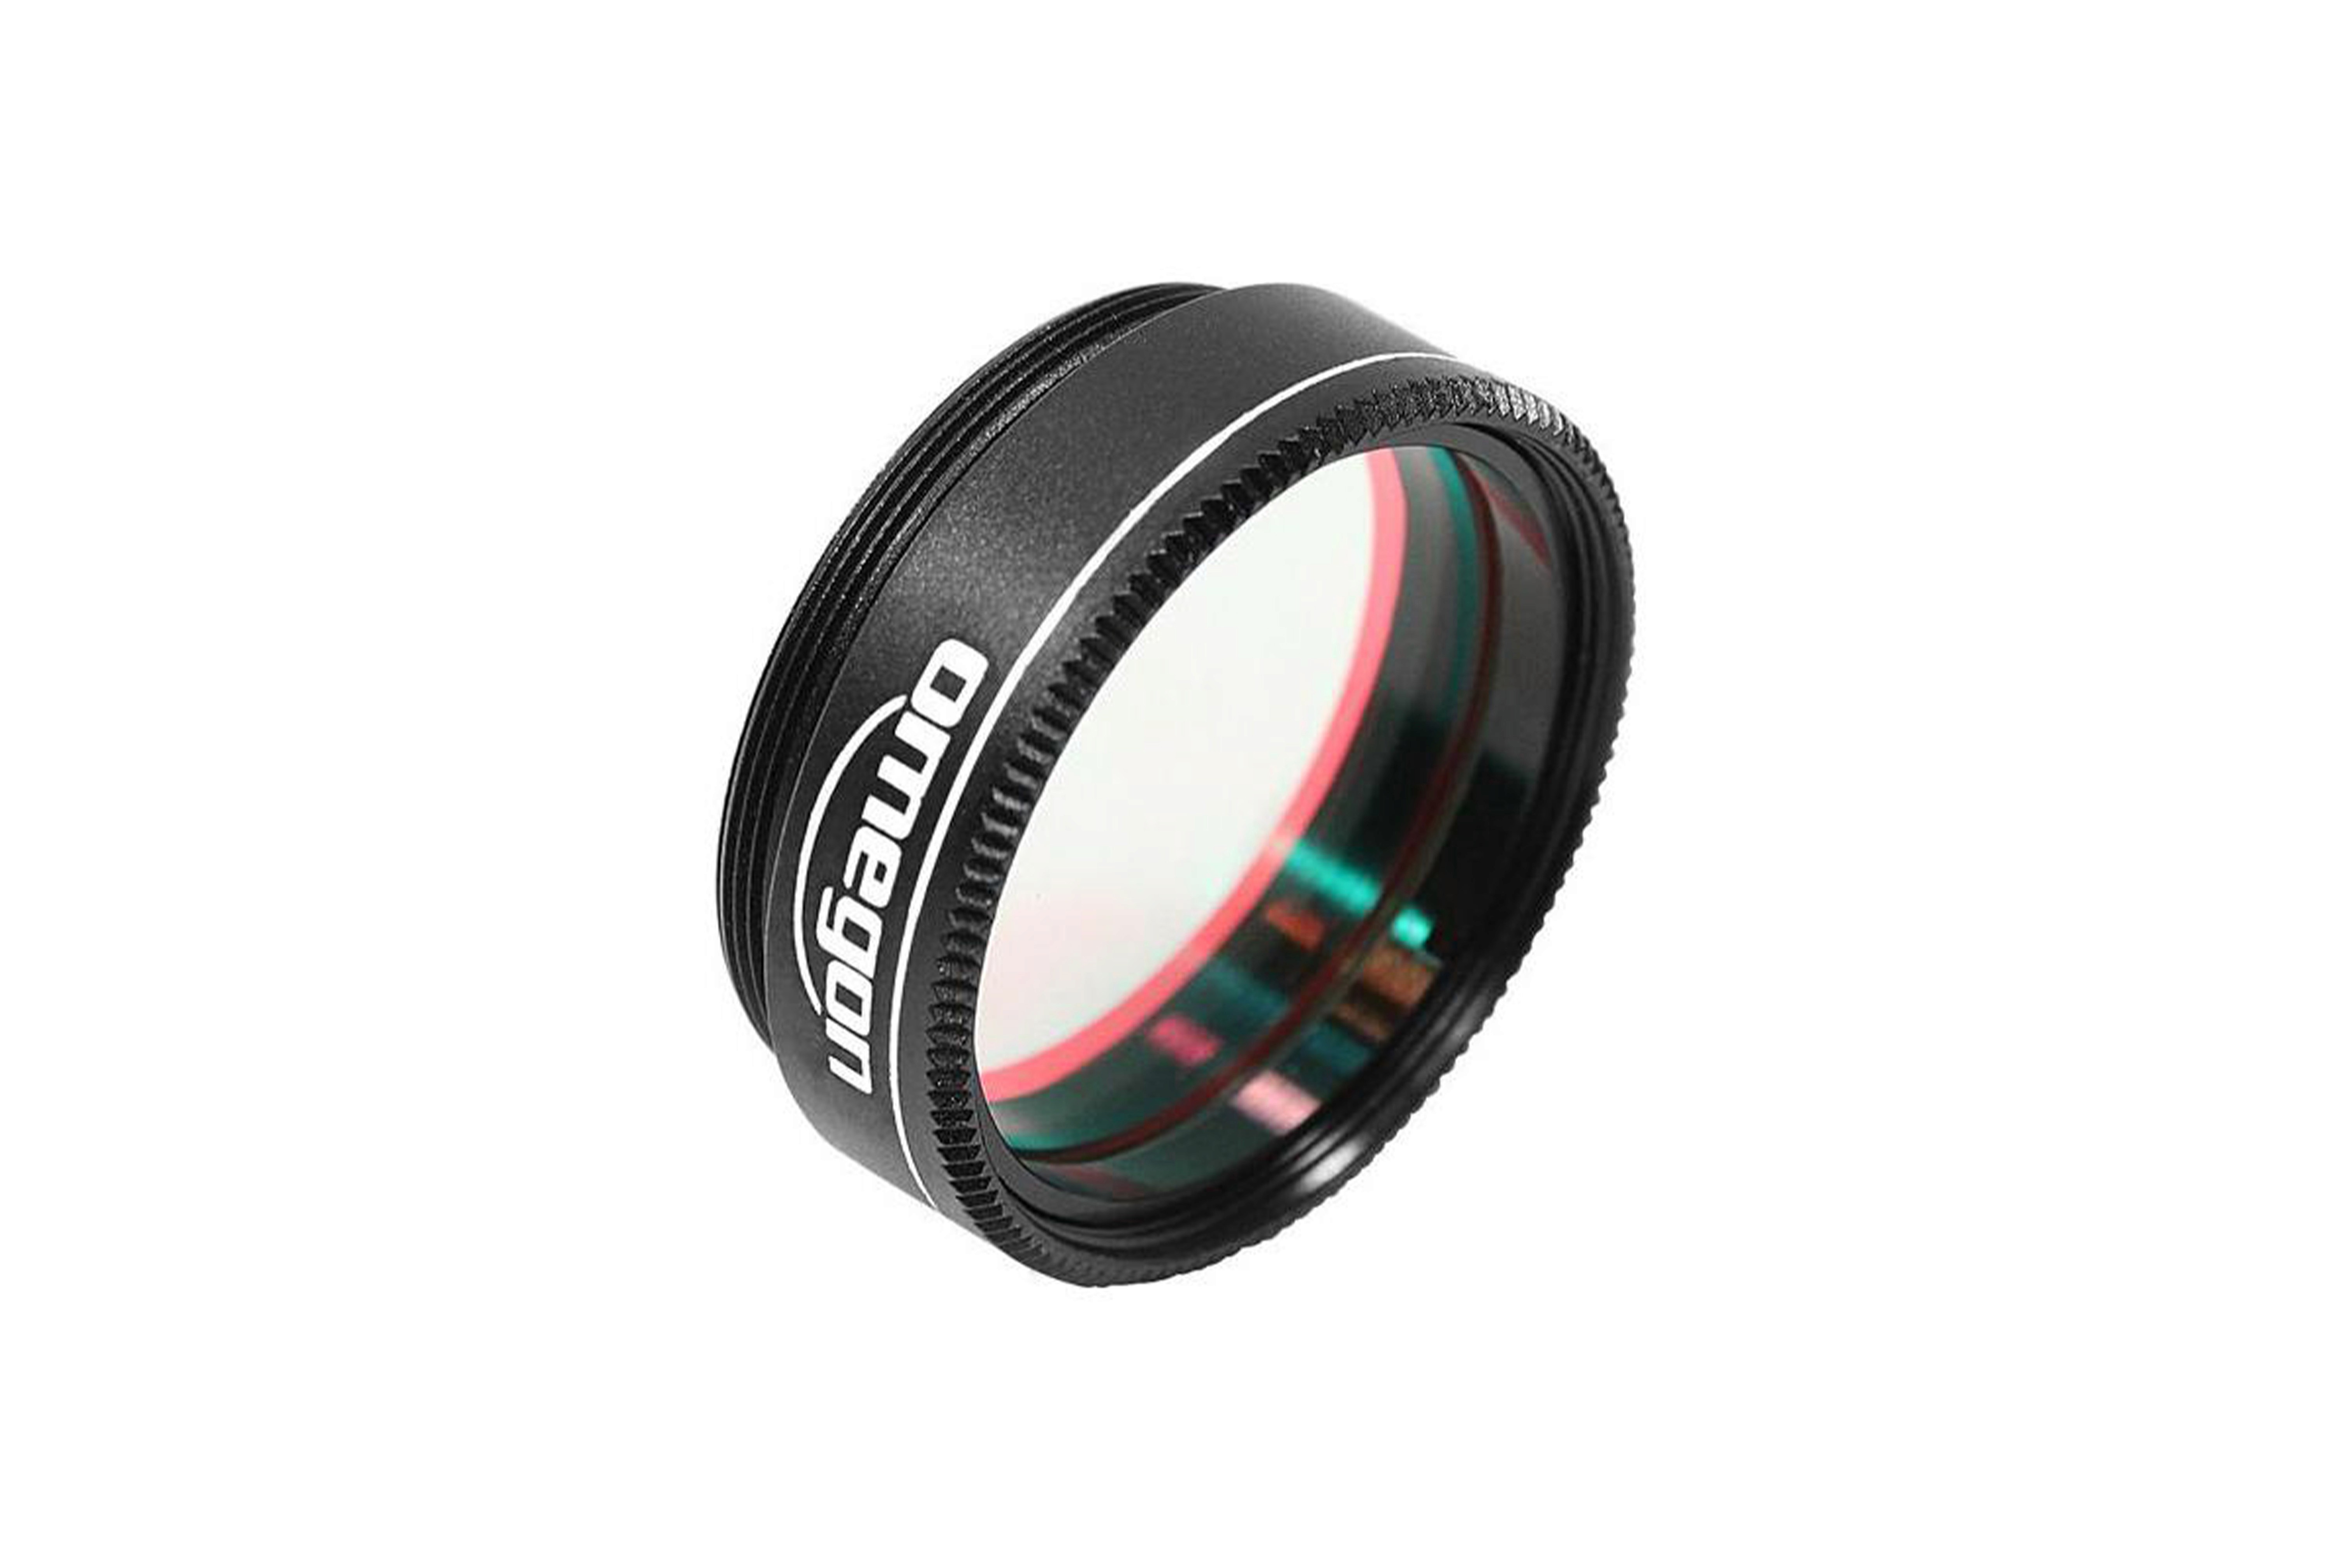
Omegon 1.25" UV/IR Cut Filter
When using the Quark, a UV/IR cut filter is essential. It protects the camera from excessive infrared and ultraviolet light while improving image sharpness and keeping exposures consistent.
Benefits:
Increased contrast
Sensor protection
Must-have for safe H-alpha imaging
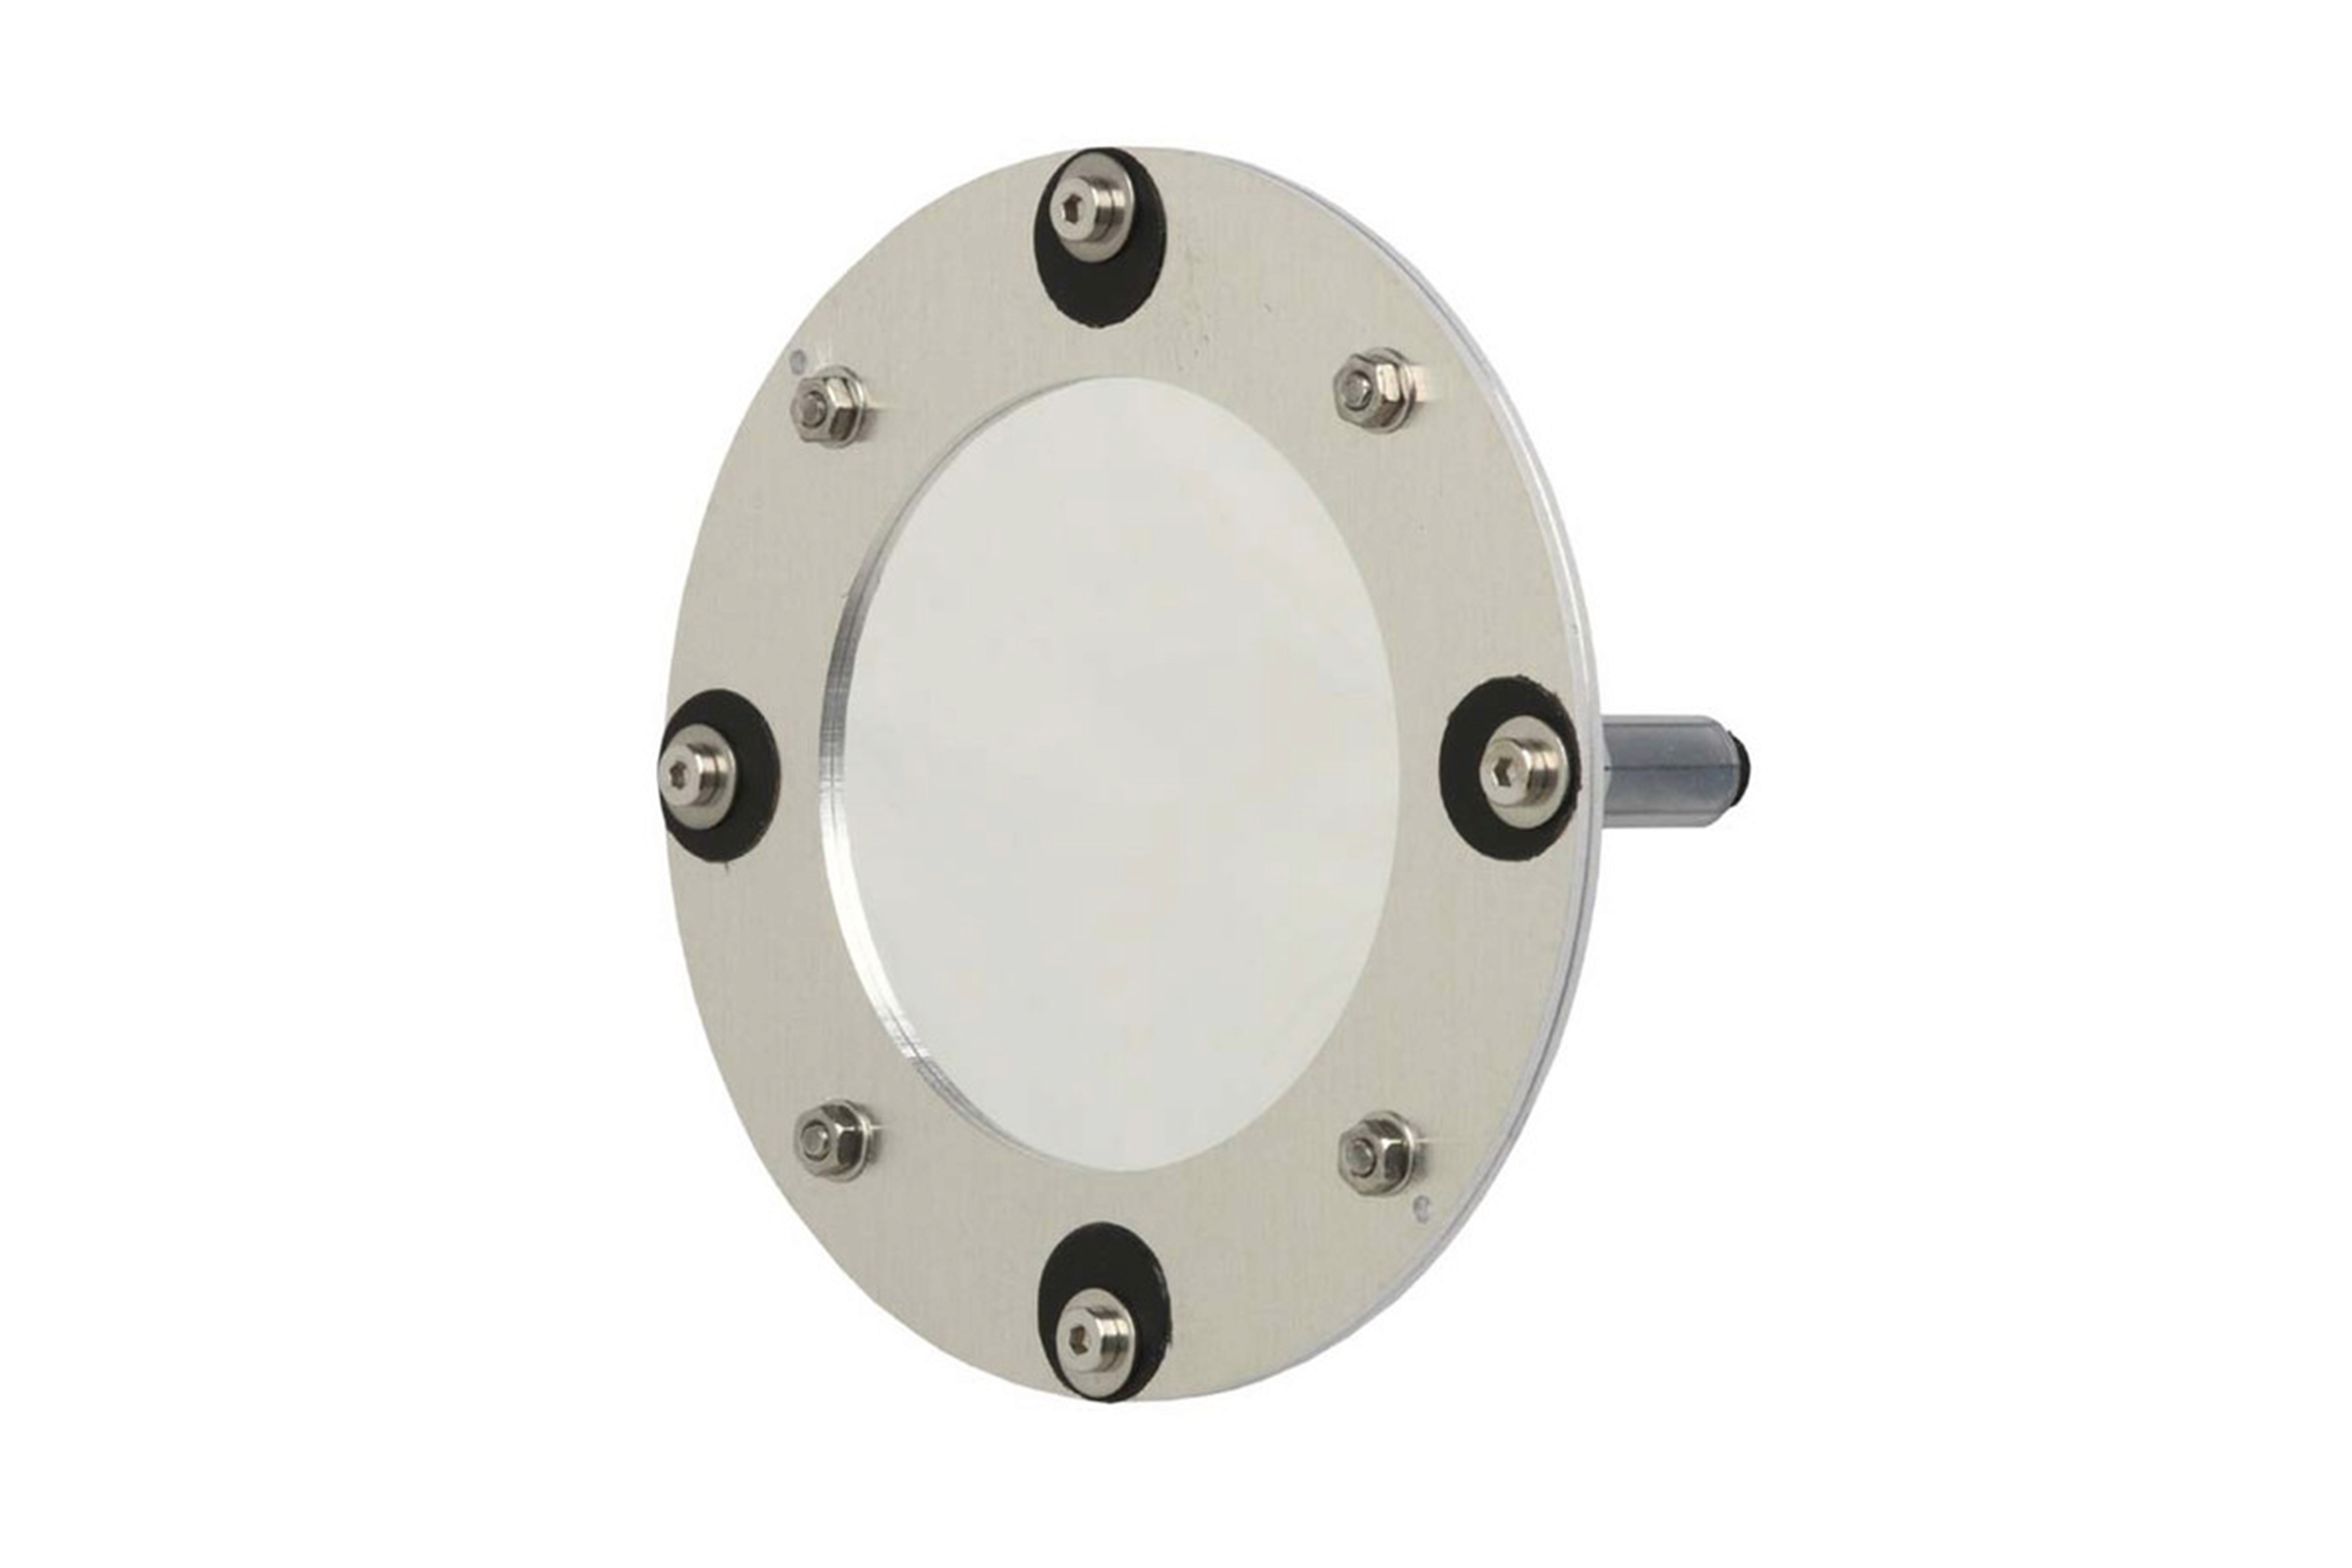
Euro EMC SF100 Solar Filter (70–85mm)
For full-disc white-light imaging, I use the Euro EMC SF100 solar filter from Omegon. It fits securely on the front of the refractor and delivers a perfectly neutral, high-contrast view of the Sun.
Why I like it:
Ideal for full solar disc photography
Lightweight and safe
Great for capturing sunspots and granulation
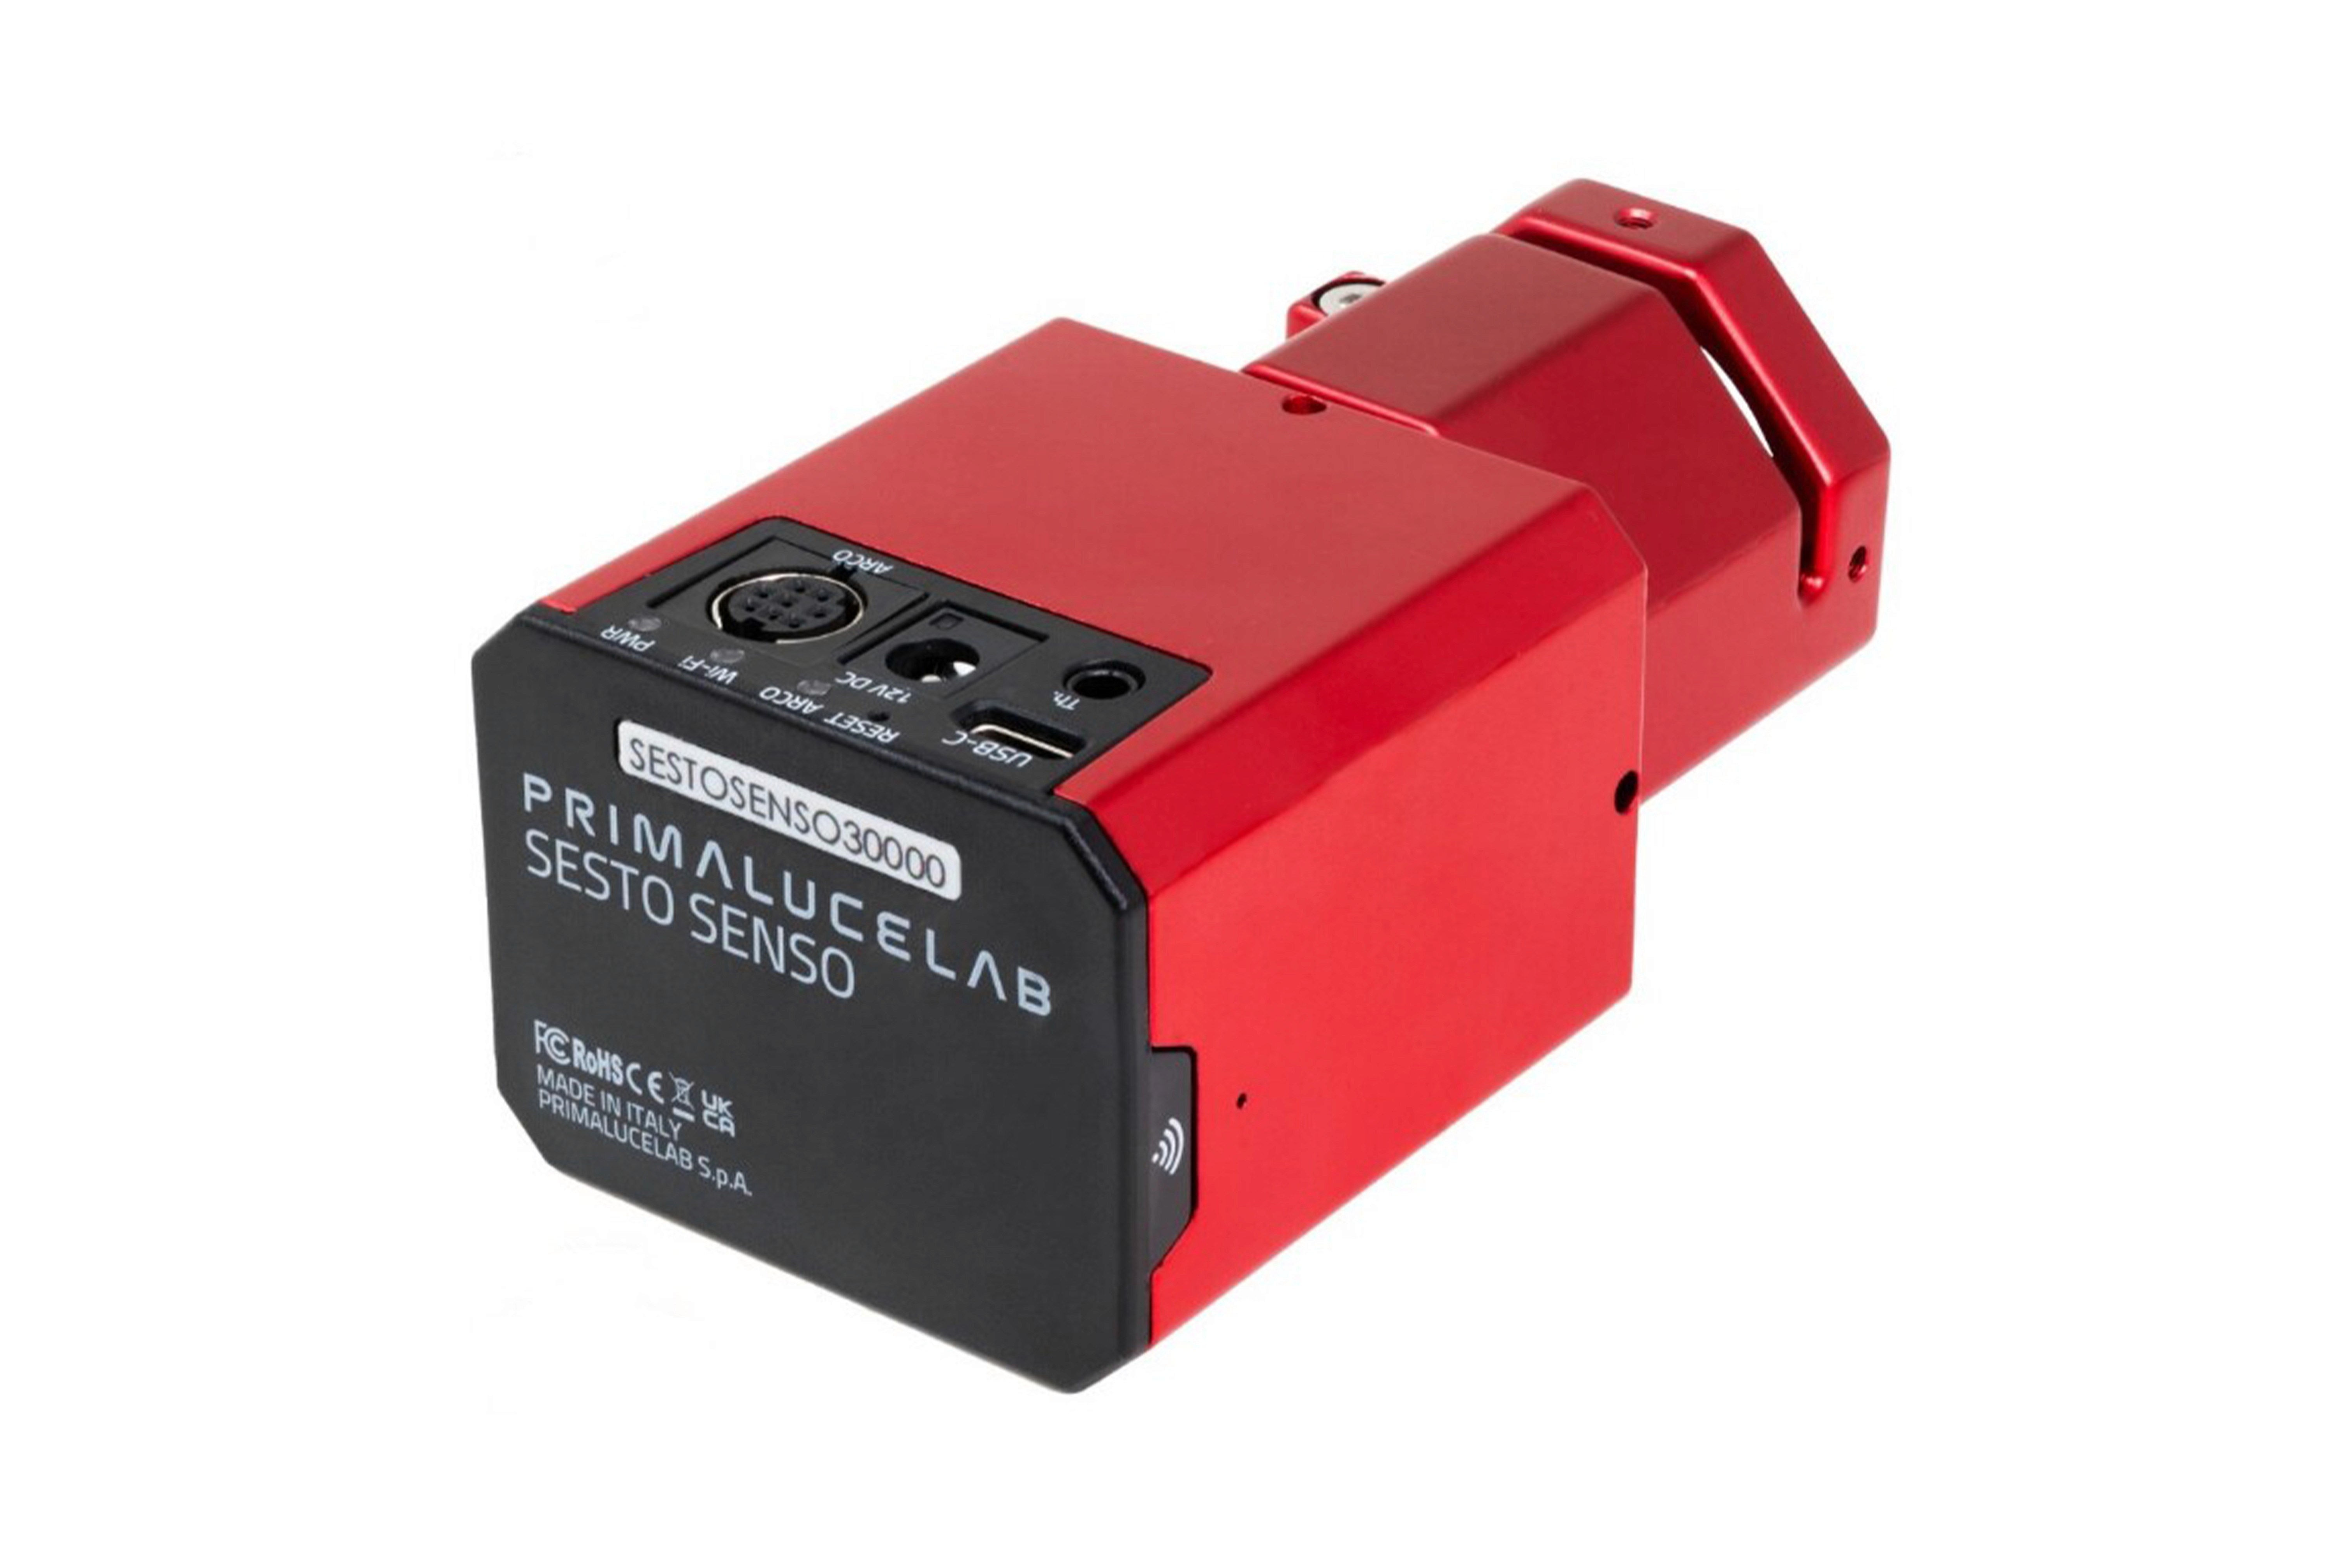
SESTO SENSO 3 Robotic Focusing Motor
The SESTO SENSO 3 is a compact and highly precise robotic focusing motor designed for external focusers. It replaces manual focusing with smooth, computer-controlled adjustments, ensuring perfect focus even during changing seeing conditions—something especially important in solar imaging.
Why it’s a great addition:
Ultra-precise electronic focusing for consistent sharpness
Hands-free operation prevents vibrations while focusing
Easy to install and fully compatible with the APO 66/400 ED
Ideal for capturing fine solar detail with the Quark and high-resolution cameras
It’s a powerful yet user-friendly upgrade that makes achieving perfect focus faster, more reliable, and much easier—especially during fast-changing solar conditions.
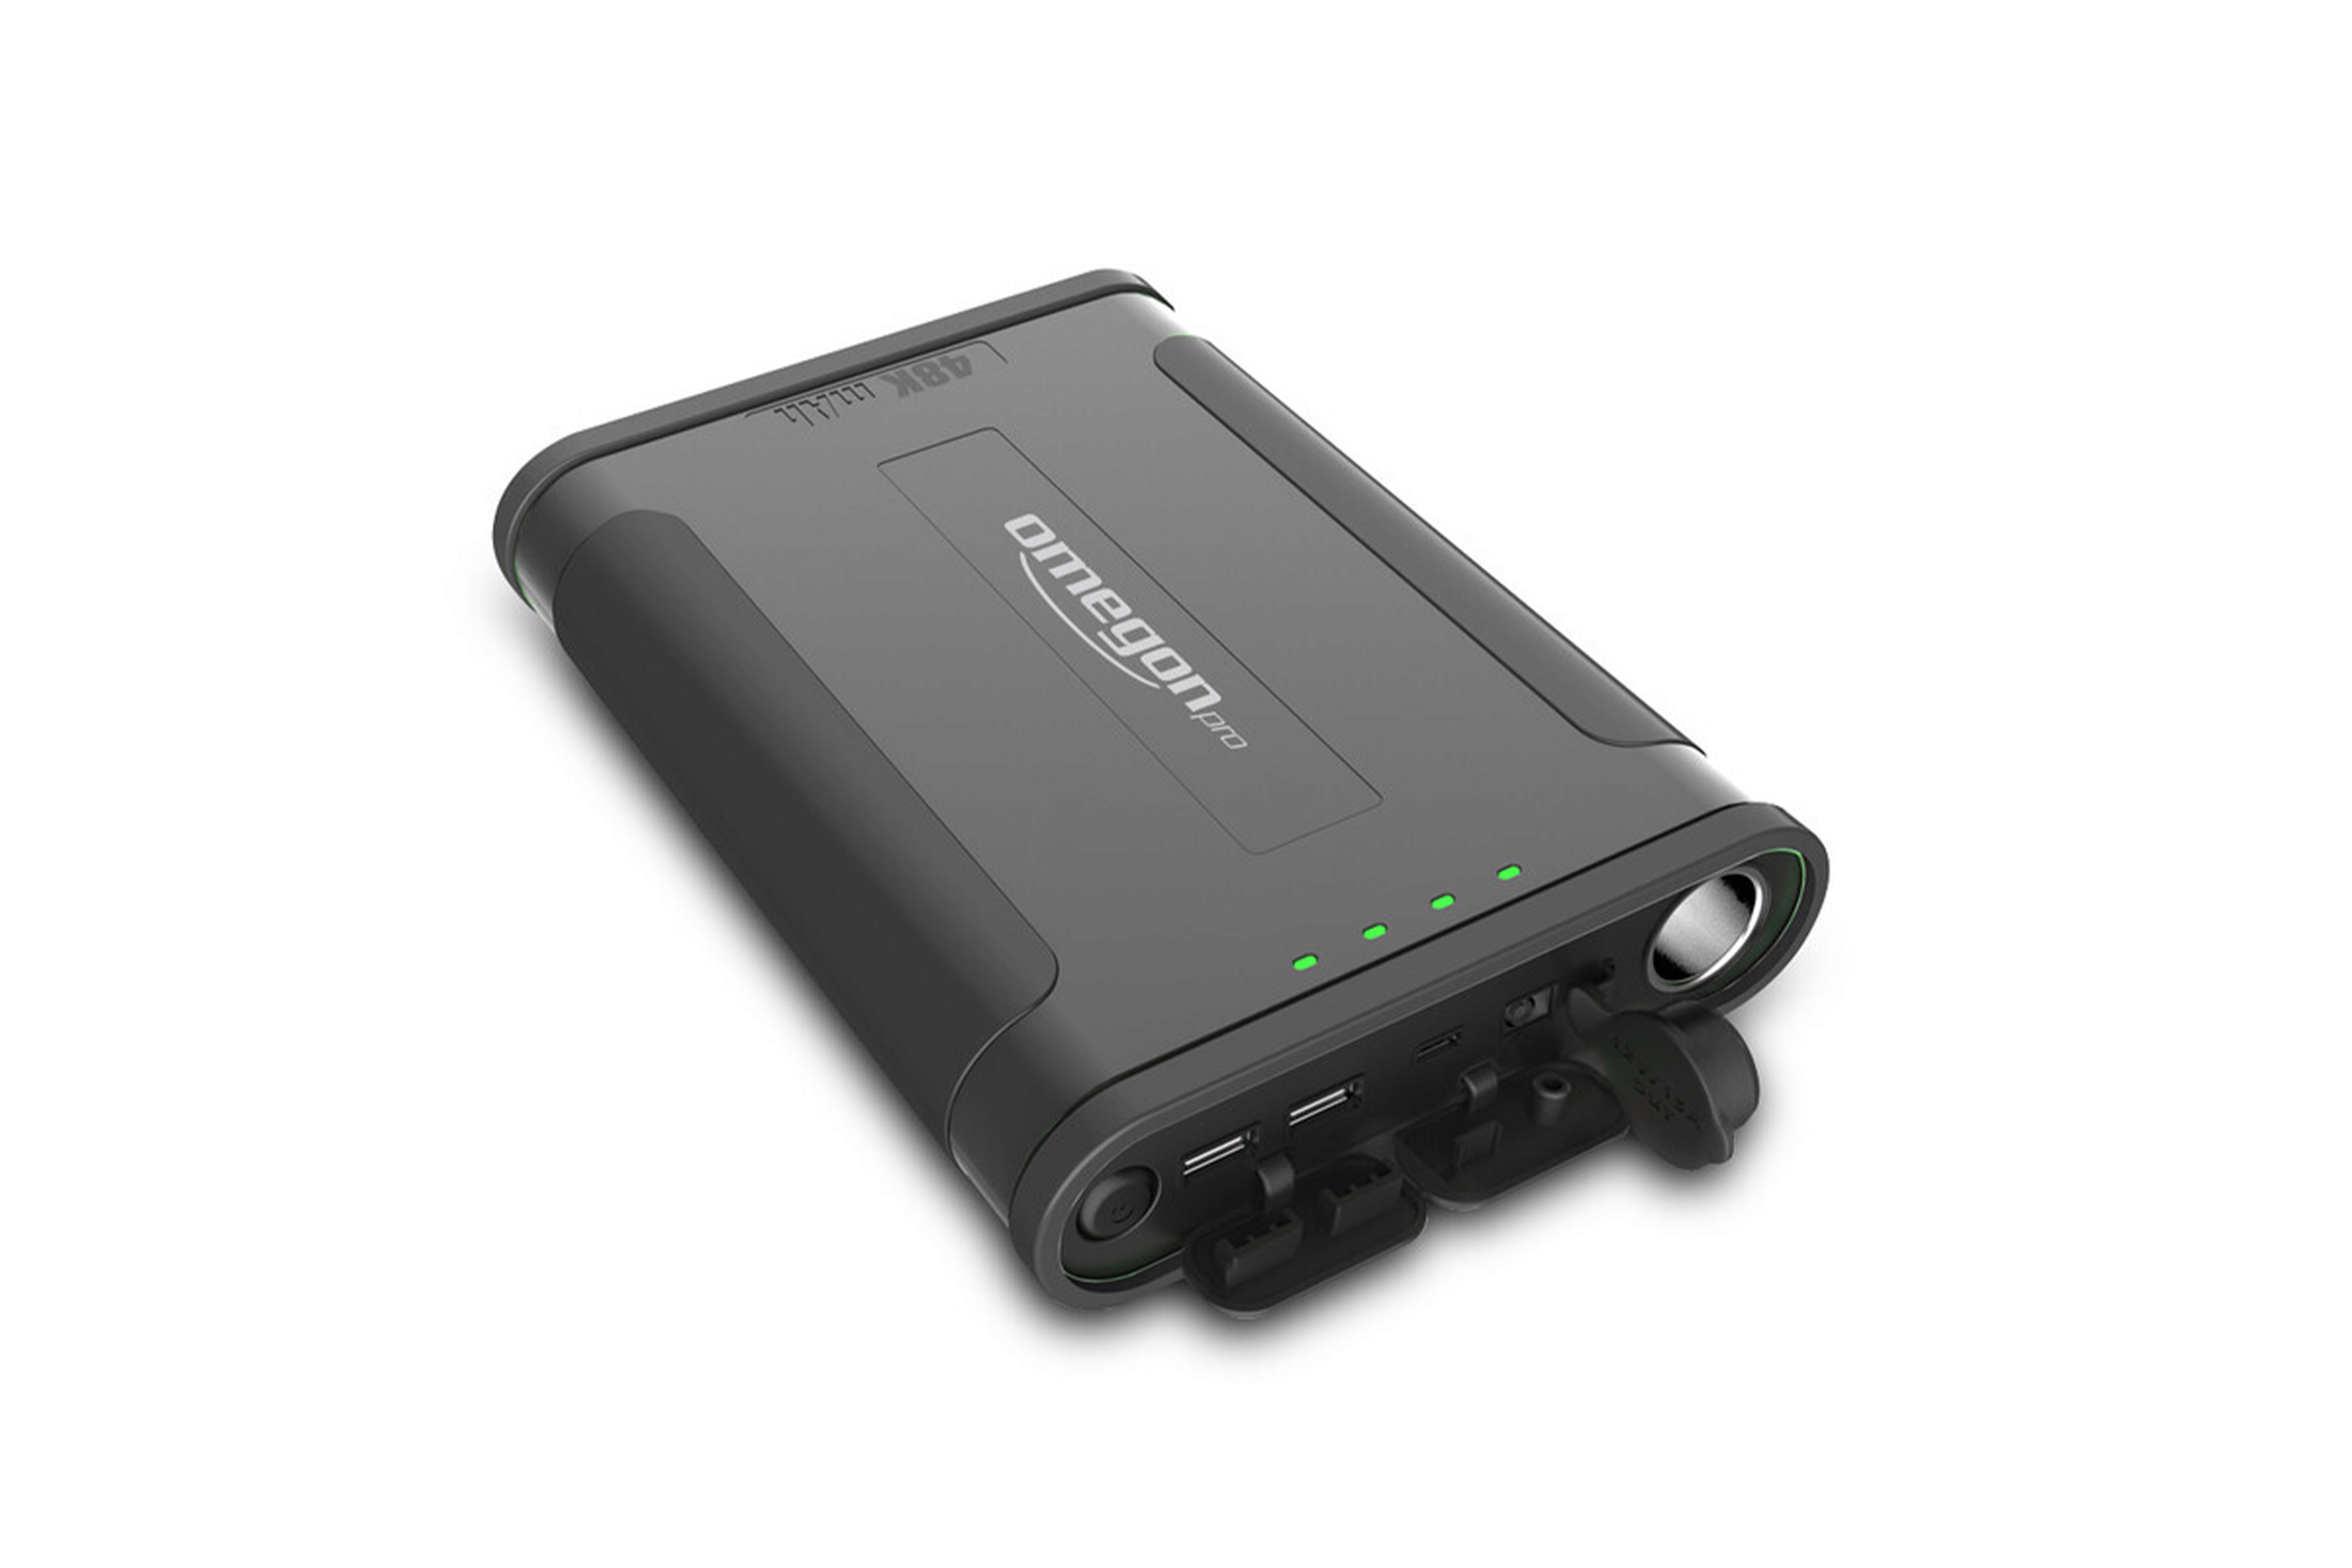
Omegon Pro Powerbank 48K LiFePO4 (154Wh, 12V)
Reliable power is essential in the field. This power bank runs my Quark, camera, and mount effortlessly through long sessions.
Advantages:
Safe and stable LiFePO4 technology
High capacity for multi-hour imaging
Compact and travel-friendly
Perfect match for mobile solar rigs
Why This Setup Works So Well
This combination of equipment balances performance, portability, and accessibility:
Beginner-friendly: Every component is straightforward to set up and operate
Affordable: Professional-level results without the extremely high costs of larger systems
Portable: Ideal for travel, quick sessions, and landscape-solar hybrid work
High performance: Capable of capturing fine H-alpha structures and clean full-disc images
It’s a setup that allows anyone—from beginners to seasoned photographers—to reveal the dynamic beauty of the Sun with clarity and detail.
Quick and Easy Setup
One of the strengths of this solar imaging setup is how fast and straightforward it is to assemble. Every component—the APO refractor, SolarQuest tracking mount, DayStar Quark Chromosphere, SESTO SENSO 3 robotic focuser, UV/IR cut filter, AstroSolar front filter, and the veLOX 678M mono camera—fits together in a simple, plug-and-play workflow. With a stable 12V power source such as the Omegon power bank, the entire system runs smoothly, allowing you to go from packed to imaging in just a few minutes.
The SolarQuest automatically locks onto the Sun, the Quark slides directly into the optical train, the SESTO SENSO 3 provides precise electronic focusing, and the camera connects with a single cable. It’s an efficient, beginner-friendly setup designed for quick sessions at home or on the go.
Software
Solar imaging relies on a small set of powerful and accessible software tools, and the great thing is that most of them are free. I capture my videos using FireCapture, which works perfectly with the Omegon veLOX 678M Mono camera. The camera is truly plug-and-play: simply connect it to your laptop and FireCapture (or any other supported capture program) recognizes it immediately.
For focusing, I also use the SESTO SENSO 3 robotic focuser via its IP-over-WiFi control, which allows me to fine-tune focus directly from my phone—fast, precise, and vibration-free.
Once the raw videos are captured, the post-processing workflow uses a combination of the following:
AutoStakkert! – Free stacking software that analyzes and selects the sharpest frames to create a high-quality master image.
IMP (Image Postprocessing) – Another free sharpening tool often used after stacking to enhance fine solar details like filaments, spicules, and surface texture.
PixInsight – Optional, for advanced solar processing, tone mapping, and contrast work.
Adobe Photoshop – For final adjustments, colorization, and preparing the image for web or print.
You can achieve excellent results using only the free tools, but combining them with PixInsight or Photoshop offers extra creative control.
Workflow
My workflow is designed to be fast, simple, and repeatable. Here is the step-by-step process I follow during a typical solar imaging session:
Set up the SolarQuest mount and power it on.
The mount automatically performs its HelioFind routine and aligns itself to the Sun without any manual input.Attach the telescope and accessories.
This includes the APO 66/400 ED refractor, DayStar Quark Chromosphere, UV/IR filter, camera, and SESTO SENSO 3 focusing motor.Connect everything to the Omegon Power bank.
This single, stable 12V source powers the full system in the field.Establish camera and focuser connections.
Plug the veLOX camera into your laptop and open FireCapture.
Connect your phone or laptop to the SESTO SENSO 3 over WiFi for easy focusing.
Achieve focus.
The first session usually requires minor adjustments to the optical train—such as adding or removing spacer tubes—to reach the correct focal distance for the Quark.
Once this is set, the SESTO SENSO 3 provides precise electronic focusing for all future sessions.Capture your data.
With the Sun centered and tracking automatically, record high-frame-rate video sequences in FireCapture.Process the results.
Stack the best frames in AutoStakkert!
Apply sharpening and detail enhancement in IMP.
Finish the image in PixInsight or Photoshop (or both).
This workflow is simple enough for beginners to learn quickly, yet robust enough to produce professional-quality solar images. With practice, the full setup—from powering on the mount to recording your first video—takes only a few minutes.
If you have any questions or would like to know more about my solar imaging set up feel free to contact me.